Page 2 - Rear Long Travel Suspension Continued
FRAMERAIL EXTENSION & PLATING
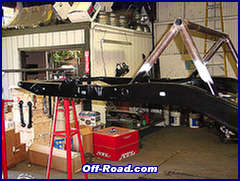
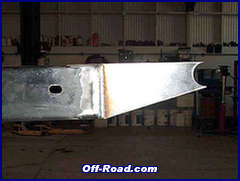
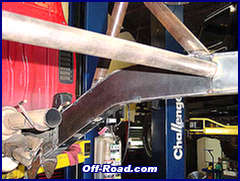
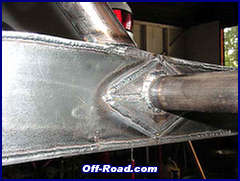
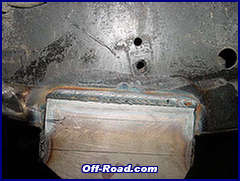
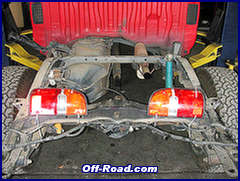
| We planned to create a tubular rear crossmember and rear subframe to take the place of the stock rear bumper. That work is beyond the scope of this article, but we had to extend the frame rails by 7.5" so that we could plate the inner frame rail to the added length in one piece. Note the diamond-shaped gusset where material was butt-welded. This is a thoughtful detail from Chris in an area that will most likely see some impact. | |
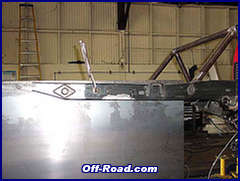
| To box the frame, we marked the material to be cut using the frame as a template, and then hit it with the plasma torch. We used .080 cold-rolled for this. |
| The material was cut slightly oversized because we were tracing on the outside of the frame, so we made a pass with the grinder to clean up all of the edges and then tack-welded it into place before coming back to stitch it together. | |
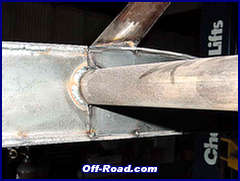
| At the seam between the two pieces of material on either side of the crossmember, Chris added another diamond-shaped gusset with opposing seams to those in the plate material. | |
FRONT SPRING HANGER
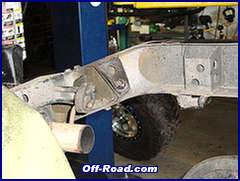
| The new Total Chaos spring hanger is installed what would seem like backwards because the taper rearwards and additional clearance is necessary for to avoid spring interference on full compression. We welded all available surfaces and then moved on to locating the shackles. | |
SHACKLES
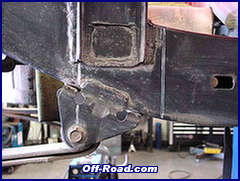
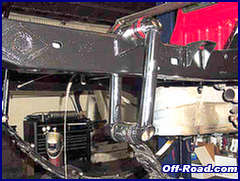
| The Total Chaos shackles come with new shackle hangers that are designed to be welded into the frame. We located our 10"shackles above the frame in order to sit the vehicle as low as possible without resorting to a shorter shackle that compromises suspension travel and a smooth arc. We gusseted down the side of each frame rail so that the load is distributed over a wider and stronger area. | |
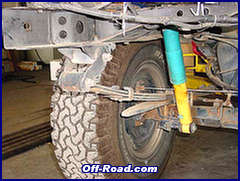
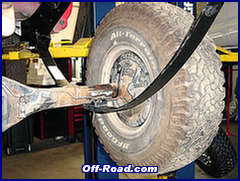
| Look at the difference between the stock Toyota shackle and the Total Chaos parts. Picture the arc that each shackle would make through the suspension cycle. Check out those stock leaf springs. One-Two-Three… Springs. Three Springs? | |
AXLE SPRING PAD & U-BOLT PLATES
| The stock spring perch does NOT have to be removed in order to mount the new spring perch, but we cut this one off because our plans include mounting hydraulic bump stops in the frame rails over the axle. We need to fabricate a contact point that would have interfered with the stock perch. | |
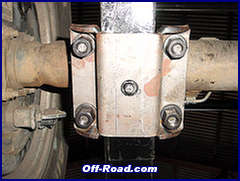
| The Total Chaos replacement leaf spring U-bolt kit is absolutely the lowest profile U-bolt kit on the market. The hardware is all countersunk and the only material under the springs is a single plate of 0.25" chromoly. It's great for sliding over obstacles, but unfortunately, it's also prone to flexing under torque/load or tightening. We're currently working with Total Chaos on an improvement and will keep you posted of new products. | |
GAS TANK CROSSMEMBER
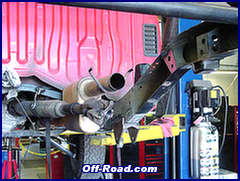
| We have designed the rear framework to accommodate a fuel cell, but for the time being we have reused the stock fuel tank and had to modify the crossmember to fit the plated frame rails. This is how it bolted together before we tore into the truck | |
| We basically just cut off the flanges at the inner plates and welded the crossmember back into the original location. When the time comes that we no longer need it, it will be easy enough to cut it out and scrap it. | |
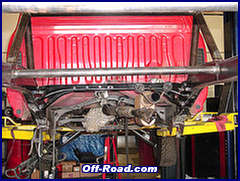
| Everything (gas tank, fuel lines & exhaust) is reinstalled just as when the crossmember was bolted to the frame. Note: this is a good time to paint, before you reassemble. |
PAINT
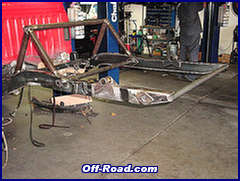
| Prep the bare metal. |
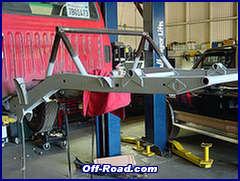
| Apply primer coat. |
| Paint the chassis. |
| Small parts too. |
SUSPENSION INSTALLATION
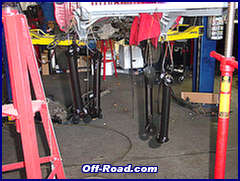
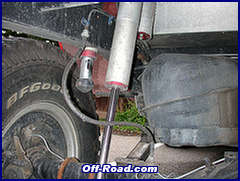
| The first lower shock mounts were a communication error. With projects of this scale, there's always something that will need to be corrected. A simple mathematical error was limiting out compression travel by over 4"! | |
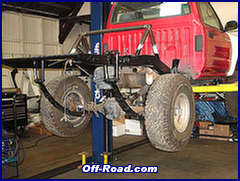
| We knew that the shock mounts were going to stand off the housing about 3” and how the part was going to be constructed, but needed to check for clearances and the exact rotation of the mounts. The second time around we got it nailed at just over 17” of measured vertical travel, using every bit of the shock stroke. Check out the gusseted construction and the sleek underside of the shock mount. | |
PINION ADJUSTMENT
BRAKE LINES & E-Brake
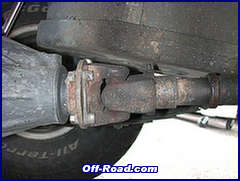
The stock E-brake can't be used with this kit either because the crossover cable could actually bind on the underside of the frame rails and lock-up your brakes on full compression. There is a transfer case pinion mounted alternative that we are looking into.
COMPLETED INSTALLATION
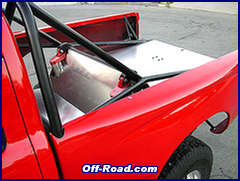
| Our completed rear suspension installation article leaves us with a vehicle that's not really finished- But here's a quick look at what else is in store for the TLT Tacoma. Next month we'll cover more of the fabrication work (with blueprints). | |
Contact Information: |
 Deaver Spring
714.542.3703
902 East 2nd Street
Santa Ana, CA 92701
![]() Swayaway
Swayaway
www.swayaway.com
818.700.9712
20724 Lassen St.
Chatsworth, CA91311
 Total Chaos
www.chaosfab.com
909.737.9682
159 North Maple St - Suite J
Corona, CA 92880
![]() Rock Star Trux
Rock Star Trux
www.rockstartrux.com
408.295.5055
573 Julian Street
San Jose, CA 95110
 Kartek
www.kartek.com
909.737.7223
2871 Ragle Way
Corona, CA 92880
Talk about our Tacoma Project in the
Tacoma BBS
Send us
Email about Project Tacoma














 Your Privacy Choices