Quadzilla Born Again! Powerplant Chapter One, Engine Lower End
""The Fire In The Monster""
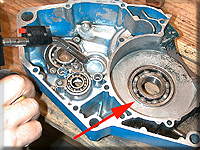
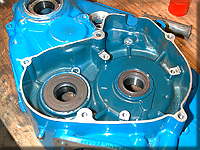
We sent the cases out to Tudor's Performance in Corona, CA to have the crank bearing bosses machined to accept steel sleeves. Jeff believes that steel is much more desirable than the brass or bronze that the other shops use. The LT500R is prone to the bearing bosses becoming elongated due to different rates of thermal expansion of the bearings and cases and the enormous rotational mass of a 500cc single. With the inserts the bearings actually become TIGHTER as the engine heats up! If you have not done this to your 'Zilla you MUST while the cases are apart. When the bearing bosses fail it leads to certain engine seizure!
Again to check for this condition on a Quadzilla:
-
Remove the flywheel cover.
-
Grab the flywheel with both hands.
-
Aggressively attempt to move the flywheel up and down.
-
ANY MOVEMENT means you need this fix immediately!
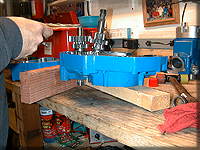
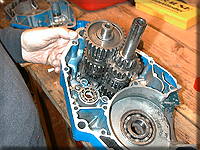
Now that all your parts are laid out and your shop manual is open to the exploded transmission schematic, and you are sure you have ALL the gears and washers where they belong... We would also like to thank Yamaha-Suzuki of Arizona (YSA) in Phoenix, for providing all of the OEM Suzuki parts used in the engine and transmission overhaul!
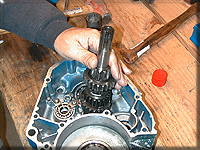
Let's put this Japanese puzzle together!
With the gear
sets in the second part of the puzzle is the shift forks and
shafts. You must have your trusty manual to refer to in order to
make sure you have the forks in the right position!


 Your Privacy Choices