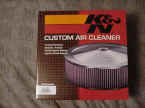
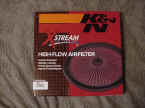
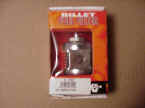
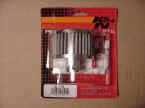
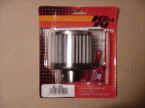
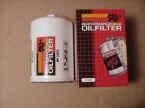
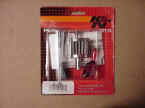
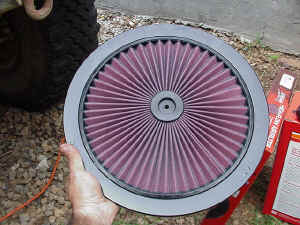
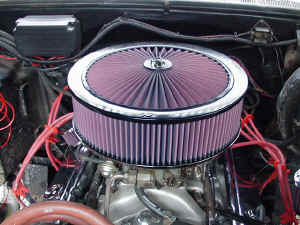
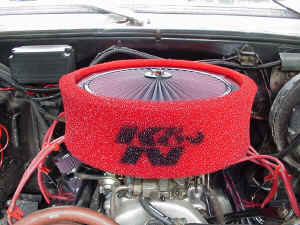
The filters on project RocKready were in a sad state, so I decided that if I was going to replace them, I might as well do it right the first time. I took a trip down to the local Auto Parts Store and took a look at their K&N catalog. The catalog has listings by year, make and model, or if you know what you are looking for, you can look at the specific filters for their measurements, and decide what you want from there. I ordered a new air cleaner assembly with a 14x4 in. filter, opting for the new "XStream" top, and a big red foam pre-cleaner. I also purchased a Billet fuel filter with mounting clamp, Crank case filter, A/C compressor filter (actually a different style of crank case filter), Oil filter, and last but not least, I used some of their small crank case style filters for all the vent lines to the axles, transmission and transfer case.
|
|
|
|
|
|
|
|
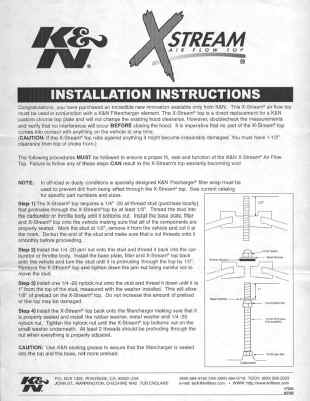
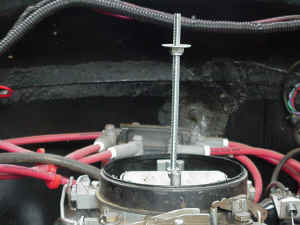
Click the images above for a full size photo The air filter assembly was the first to be changed, I took off the old chrome air cleaner with a paper filter in it, and threaded in a new longer rod in the top of the carburetor. The stock rod was a couple of inches too short, not to mention with the XStream top, you have to set it with the right amount of pre-load. The XStream top comes with some nylock nuts and washers and a good set of instructions that show you how it's done.
- You will need to get a piece of 1/4"-20 "all-thread" stud at your local hardware or auto parts store, I got mine about a foot long so that I knew I would have enough.
- Thread the rod into your carburetor and then add a jam nut (included in the XStream top kit) to lock the rod in place in the carburetor.
- Install your air cleaner lower assembly and the filter element (I also have a 1" plastic spacer on mine to get extra clearance on the carburetor).
- Put the XStream top on the rod, then measure up 1/2" from the top of the mounting rod hole and make a mark.
- Remove the rod from the carburetor and cut it off at this mark and de-bur it.
- Measure screw on one of the nylock nuts provided in the kit until the nut, with a washer (also included in the kit), is 1" from the top of the rod. This is the proper pre-load for the XStream top.
- Now all you have to do is reinstall the rod and jam nut, put the top on, add the rubber and steel washer then tighten it down with the last nylock nut.
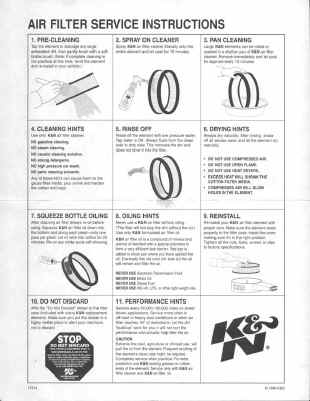
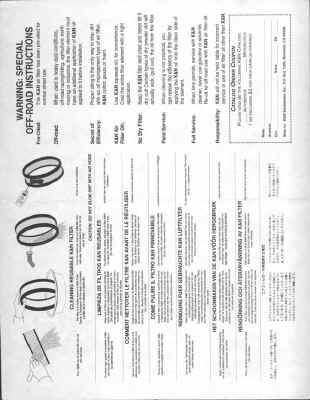
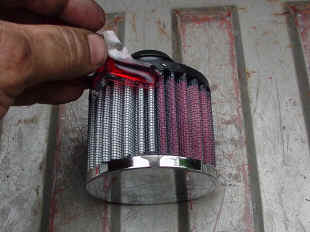
- I had my own fancy air cleaner nut, so I used it instead of the nylock one. I then added the K&N pre-filter to my assembly, its a very coarse piece of red foam that you must pre-oil before using. Instructions are included. All K&N air filters come pre-oiled and sealed in plastic. You can purchase a "Recharger" kit that has their oil and filter cleaner, along with instructions on how to clean and re-oil your filter.
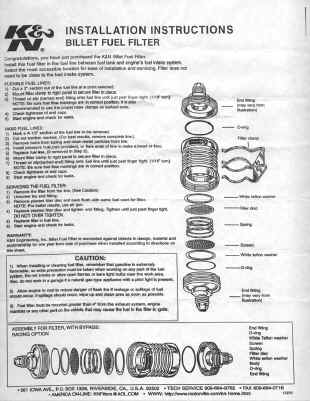
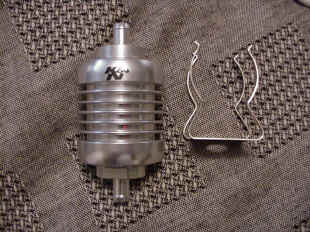
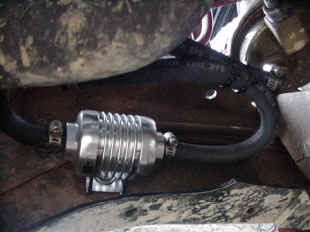
The fuel filter is almost too pretty to put on, it is really a fine piece of 6061-T6 Billet aluminum. Well actually three pieces, with some o-rings and filter guts. It is fully cleanable so it can be reused over and over, just like the K&N air filters, except of course you don't oil it. (Hey, you'd be surprised....)
It comes with its own mounting bracket, one bolt to hold the mount to the frame (or what ever you decide you want it mounted to) and that's it, the filter clips into the mount. Depending on what type of fuel line connection you have you can get different filters to match. I chose the one with 3/8" barbed ends on it so I could use my regular fuel line. It is available with either barbed end fittings or AN style end fittings, and the ends are interchangeable. Nice touch. For you tech junkies, the filter will take out particles down to 10 microns.
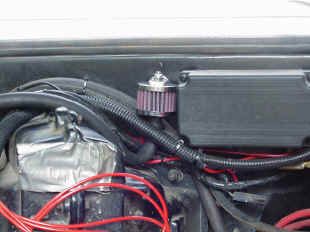
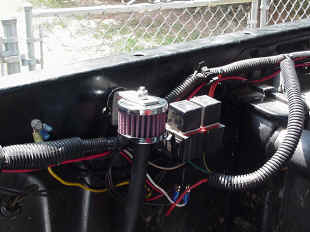
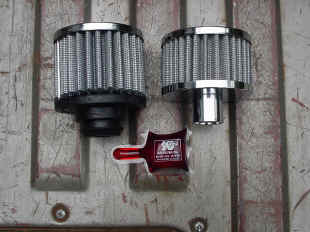
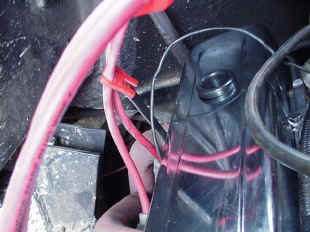
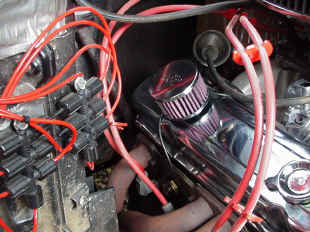
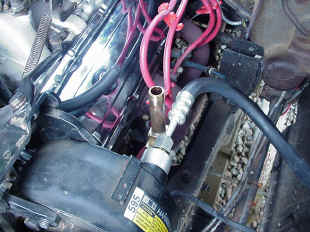
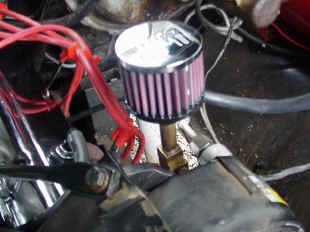
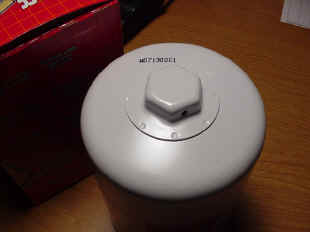
The crank case vent filter and the air compressor filter came in the package with a pillow pack of K&N filter oil. These do not come pre-oiled so you have to do it yourself. The pillow pack that comes with each filter is more than enough oil to treat the filter. Follow the directions included in the package and you can't go wrong. The oil filter is very high quality and with some great features of its own. I will not bore you with any install photos, if you change your own oil it installs the same way as any other oil filter. Again for you tech junkies, the filter flows 12-16 gallons per minute. It has a 10-20 micron filter inside and has an anti-drain back valve to help eliminate dry starts. It also has a 1" nut on the end to really make it easy to get on and off, you don't have to bust your knuckles with one of those funky oil filter wrenches. For you racing folks, the nut is also drilled for safety wire so you can make sure it won't back out and fall off on the track. The vent tube filters I used for the differentials, the transmission, and transfer case, are a smaller version of the crank case vent filter with one exception. They each have a stud sticking out the top with a nylock nut so that you can attach it to a solid mounting point. I mounted one of them to my fire wall and one to the radiator support with some flat aluminum that I made into brackets. The transmission and transfer case a both attached to a single vent tube, with one of the filters goes to it, and the other going to the front differential. The rear differential has a filter attached to it and is tucked high up into the fuel filler neck. I did not have room to make a mounting bracket, so I zip tied it to the filler neck from the inside.
|
|
|
|
|
|
Click the images above for a full size photo
If you want to give your vehicle the best filters, you can. you'll also save some money in the long run by cleaning and re using your filters instead of throwing out cheap paper ones. Or if you just want a few extra horsepower by swapping in some better, free flowing filtration, then K&N has your answer. Stop by your local auto parts store and pick a few up.
If you have any questions or comments, please fell free to email me.
See ya on the trail
Glenn
http://www.knfilter.com
 1455 Citrus Ave. P.O. BOX 1329, Riverside, CA., U.S.A 92502 Fax: 909-684-0716 Toll Free: 800-858-3333 Email: tech@knfilters.com |
If you're a manufacturer and would like your product included, please send an email to reviews@Off-Road.com Return to Project Rock Ready
Return to the Off-Road.com Projects Page
Return to the Off-Road.com Chevy/GMC 4X4 Page
chevy@off-road.com.



 Your Privacy Choices