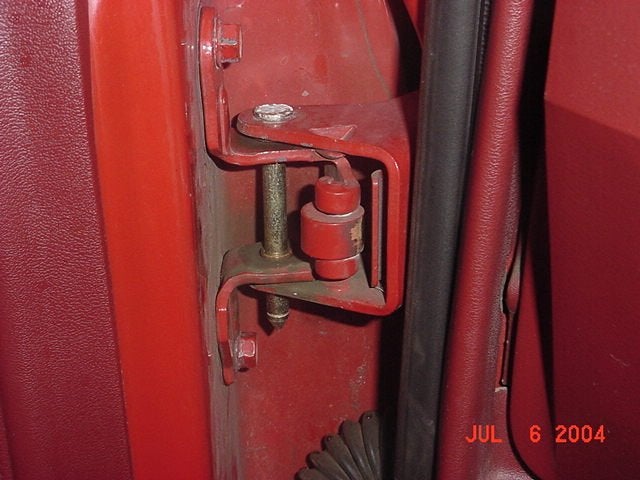
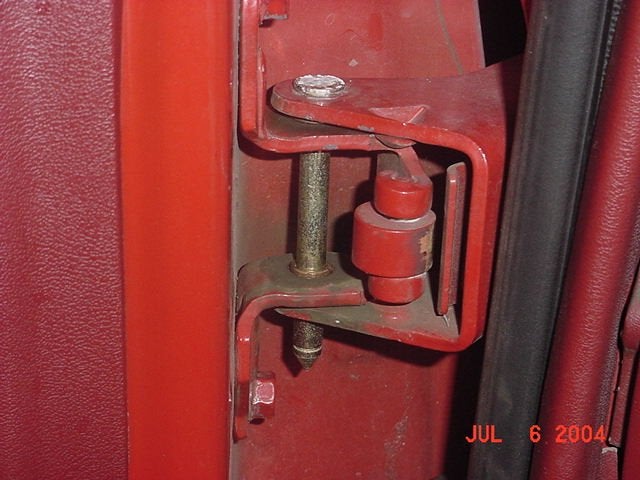
The total project takes less than 45 minutes. True, I had some expertise (a guy who has had his Bronco door off several times) but, truely not a hard task at all. So, any of you out there putting up with a saggy door and hearing the irritating clunk of a misaligned door, stop procrastinating and buy the after market door pin replacement pin and get the job done. Here's how I did it.
List of tools.
- 4" grinder
- Drive Pin (for knocking out old pins and bushings)
- Torx driver (for the window handle)
- Philips screwdriver (one small and one a bit larger)
- First pencil around the bracket where it connects to the door (for reinstallation purposes).
- Removed all interference such as the interior door panel, speaker wire, window handle, etc.
- Take a mental note of the arrangement of the existing pin and bushings. Removed the door leaving the brackets on the body.
- Cut through the existing door pins with the grinder. Don't forget safety equipment.
- With the drive pin, knocked out the old pins and bushing. Helps to have someone hold the door or have it proped up with a stump of anything the right height.
- Clean brackets up a little and reinstall new pin. Making sure you look at arrangement of bushings before you take them out. The expert all most had me install a bushing opposite of what it was designed to do. Top bushing drop in through the top and the lower bushing installs up through the bottom. If that makes any sense.
- Installed snap ring for retention of the pin.
- Reinstalled door and all interferences.
Randy
Click image for a larger view
Follow @Off-Road


 Your Privacy Choices