|
October 2003
|
 |
Bully Dog Technologies
Under 4 Hours, will get you Over 120 Horsepower by Dean Waters |
|||||||||||||||||||||||||||||||||||||||||||||||||||||
|
||||||||||||||||||||||||||||||||||||||||||||||||||||||
|
|
||||||||||||||||||||||||||||||||||||||||||||||||||||||
|
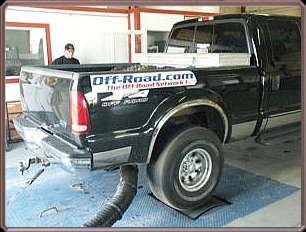
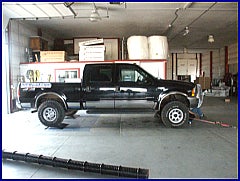
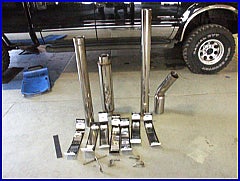
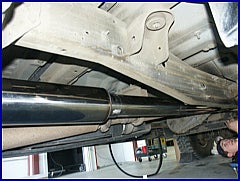
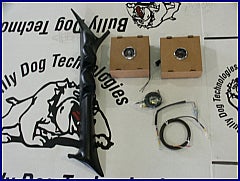
We have all heard the claims in the marketing brochures, "Huge Horsepower Gains", "Incredible Performance", "Easy bolt-on", etc. We wanted to find out for ourselves just what could really be accomplished in a few hours at the shop. We scheduled some time with Bully Dog Technologies at their shop in Aberdeen, Idaho. For testing we brought a 1999 Ford F350 Crew Cab with 7.3L Power Stroke Diesel and 5 speed transmission. The F350 is relatively stock with only the addition of a 2 1/2" leveling kit and 33" tires. The Power Stroke Diesel is just getting broke-in with approximately 77,000 miles on the odometer.  The 4-Bank Chip utilizes state-of-the-art programming to produce the lowest exhaust gas temperatures in the industry, running 50 to 100 degrees cooler then most of the lowest horsepower chips from the competition. The chip produces 50 to 100HP. To make it adjustable on the fly you can add a flip switch, which plugs into the 4-bank chip and has 4 different power settings including stock. The Rapid Flow exhaust system is designed with the lowest degree mandrel-bent angles in the industry. The exhaust system is said to produce 8-20HP, while also reducing exhaust tempatures nearly 200 degrees. The Rapid Flow system will allow the turbo to generate air more freely and create a more efficient burn. We will install the stainless steel version which is made of 1304 stainless steel and includes a 5" polished tip and a Lifetime Warranty. The Rapid Flow Induction is said to increase air flow 200-300% over stock intakes and is a simple bolt-on. This also gives you a lifetime air cleaner that can be cleaned and reused. The gauge pods are available in 1-, 2-, and 3-pod versions. With Package 1 we will be installing the 2-pod version with a boost gauge and an exhaust temperature gauge. These are high quality analog gauges with the famous Bully Dog logo on them.
Prior to starting the installation the first thing
we did is put the Power Stroke on the Bully Dog dyno so that we
could see what our starting numbers were. Measuring at the rear
wheels of our 1999 Power Stroke, the dyno showed a peak HP of 206
and peak torque of 434 Ft-lbs. When our installation is done we
will run it on the dyno again to see what are after numbers
are.
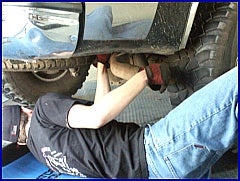
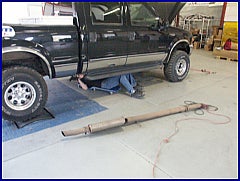
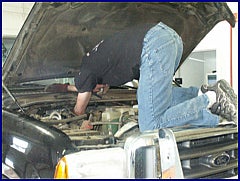
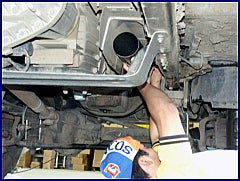
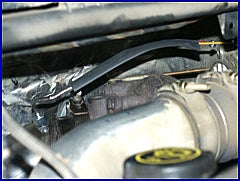
First up was getting the stock exhaust out of the way. While you could unbolt it and save the stock system, using a sawz-all for removal makes the process much quicker and easier. In a matter of minutes the stock system was on the ground. While you're in there removing the exhaust system, you will also want to remove the existing pipe hangers from the rubber bushings on the chassis rail. Under the hood you will need to remove the down pipe clamp from the turbo so that piece can be removed.
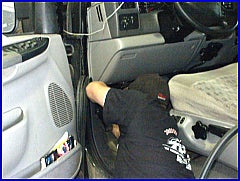
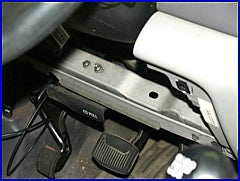
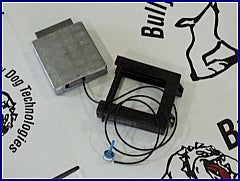
While one of the Bully Dog crew was working on the exhaust system, another was installing the 4-bank chip and flip switch. The hardest part was getting the computer out from under the dash. It took two people to finally get it removed. Standard transmission models such as ours are said to be more difficult, so you may find yours easier to remove.
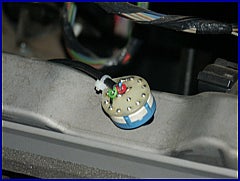
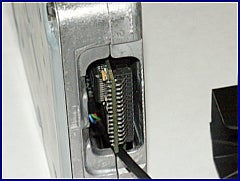
With the computer, remove the black cover, then plug in the 4-bank switch and flip switch. It is important that you have a good connection when plugging in the chip. As the name implies, the switch has four settings. Turning the switch all the way to the left (counter clockwise) puts it in the stock setting. Turning it to the right you get the low, medium, then the high setting.
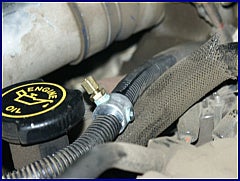
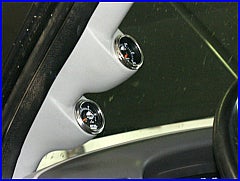
Remove the stock plastic window column to make way for the new gauges and pod. You can route the wires for the gauges under the hood so they can connect to the exhaust tempature sensor and the boost sensor.
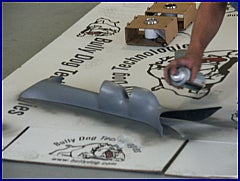
While working on other things, the
Pod was painted to match the interior of the truck then left to
dry. After it dried the guages were installed then the column
re-installed. To provide lights for the guages we tapped into the
interior lights behind the switch on the dash.
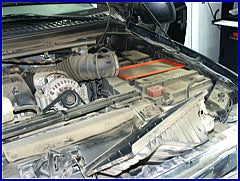
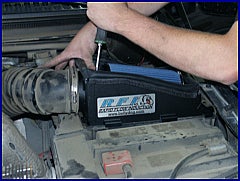
Installing the Rapid Flow induction system couldn't be much simpler. You remove the stock air box lid and filter then snap the new intake box in place. Install the conical filter and tighten it all down. You are ready to rip.
With the two Bully Dog engineers,
we were done with the installation in just over three hours,
including the initial Dyno test. Now all we had to do was our final
dyno testing to see the results of the morning's
effort.
Would the Bully Dog product live up to it's claims? Still strapped on the dyno, it was time to rip. We would test the Powerstroke with the 4-Bank chip in all settings and see just what we could crank out.
WOW! What a difference from that measly 206 HP and 434 Ft-lbs of torque that we started with. That is an incredible 120HP gain in under four hours.
The only slightly negative thing we have noticed is that at certain RPM's in the medium setting we will get a slight "wiffeling" sound when accelerating. You can hear this and also see it on the boost gauge. After talking to the Bully Dog engineering crew we believe this is something that is caused by the straight vanes in the Turbo and was probably always there - it is just that the modifications have now amplified it and made it more noticeable. Bully Dog does offer a kit that modifies the Turbo with variable vanes and fixes this problem. We are VERY pleased with the Bully Dog Performance package. They have lived up to the marketing claims and passed with flying colors.
2854 W 2200 S Aberdeen, ID 83210 208-397-3200 www.bullydog.com |
||||||||||||||||||||||||||||||||||||||||||||||||||||||





 Your Privacy Choices