Project '93 K1500: Tom Wood's Custom Drive Shaft Install
Throw out that Slip Yoke, Upgrade that Stock Drive Shaft on Your Chevy Truck.
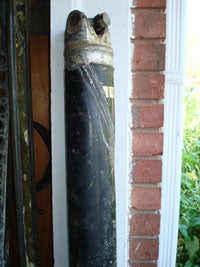
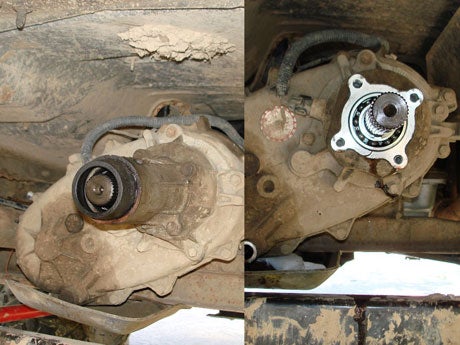
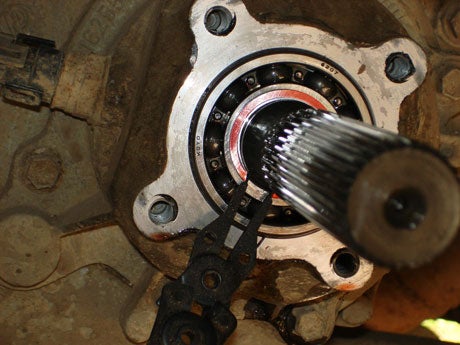
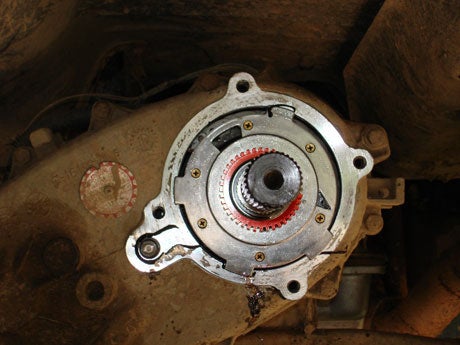
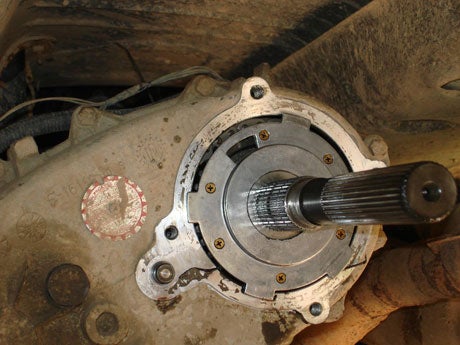
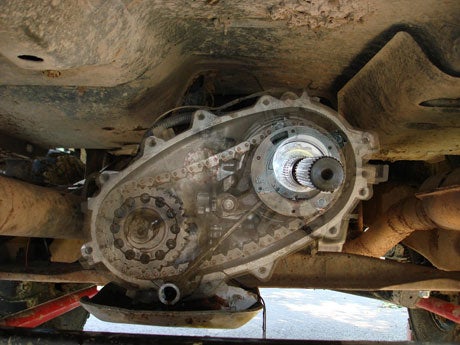
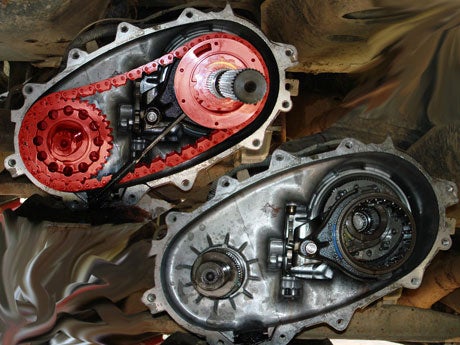
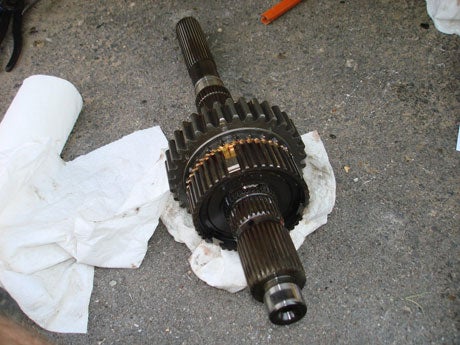
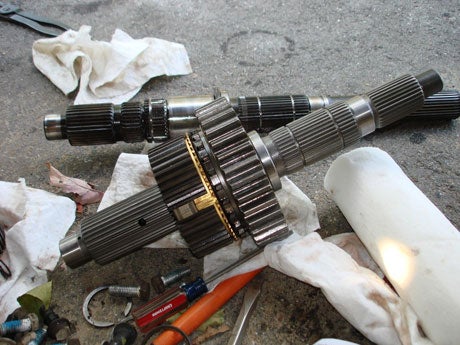
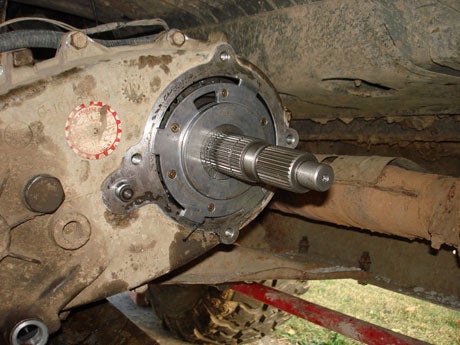
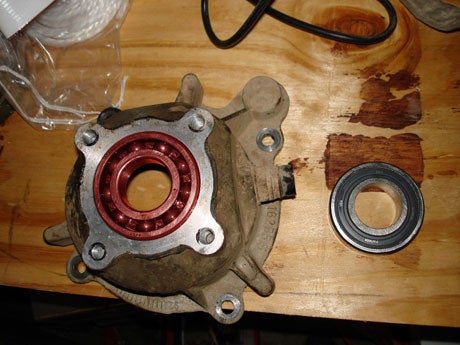
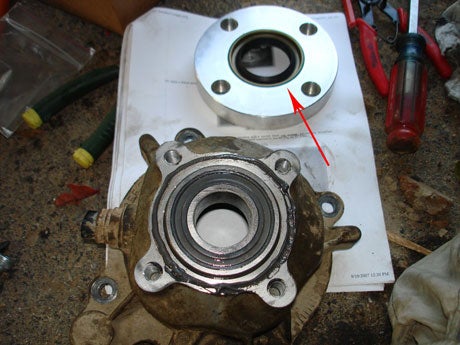
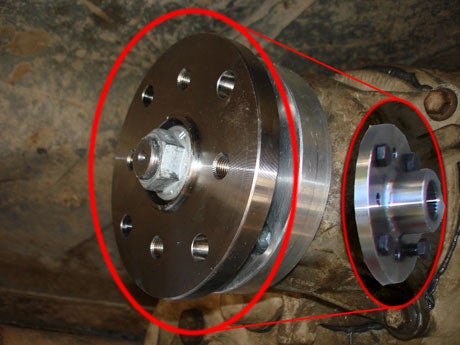
Can you remember a time when you took your truck out and wanted to push it just a little bit farther? Possibly over some rocks? Well I can, but unless you have the right equipment it’s probably not a good idea. The main thing I recommend is to not get in the rocks with a stock drive shaft. Also, just don’t do it at all unless you have a rock crawler. I learned the hard way that stock drive shafts are stronger than I anticipated but still not up to the job of negotiating boulders. Don’t get me wrong, I almost made it through without sustaining any damage, but the lightweight stock drive shaft didn’t quite make it. For a new drive shaft I did a bit of research and learned that Tom Wood’s Custom Drive Shafts is the premier name in high performance drive shafts. Tom Wood has the largest selection around and if you are in need of a custom drive shaft, or stock for that matter, they can build you one. As part of the drive shaft upgrade, I also decided to install a slip yoke eliminator kit from JB Conversion. There are a few key reasons to install a slip yoke eliminator (SYE) on your trail rig. The slip yoke design, over time, allows the rubber seal to wear down and eventually start leaking (mine was). The other reason, and this is key, is the inability to remove the rear drive shaft on the trail in case it is damaged. If this is done with the slip yoke design, you will lose all of your fluid. With an SYE installed you can remove a damaged drive shaft on the trail and still have the ability to get yourself back home in 4wd, effectively using only the front tires. So now it’s time to begin getting the SYE installed. I needed to get this done first so that I could get measurements for the new drive shaft. It is recommended that you remove the transfer case from the vehicle for this installation, but after recently re-installing it during the tranny rebuild I couldn’t help but remember how difficult it was. I decided to install the SYE with the transfer case still attached to the truck. Besides on Project ’93 K1500 there is enough room under the chassis for me to sit upright, which puts the transfer case at perfect working height.
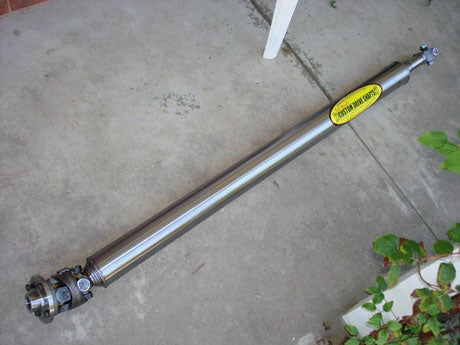
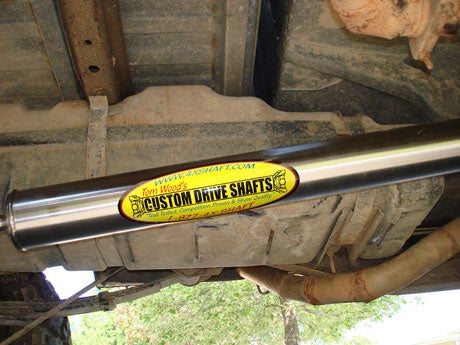
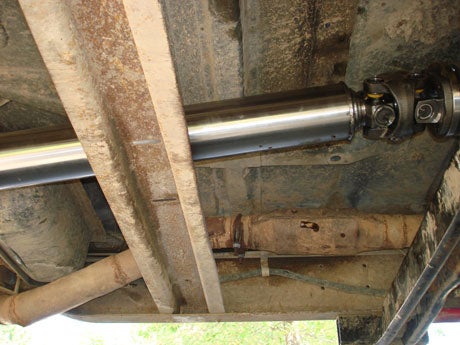
Now that the SYE install is complete you can take all your measurements and pass them along to Tom Wood’s Custom Drive Shafts. The type of drive shaft I went with is the 1350 Series CV. This particular drive shaft will be an excellent all-around player for Project ’93 K1500. It is substantially stronger than stock, rated at 2200 pound feet of torque. This shouldn’t have any trouble pushing the 35” Pitbull Rockers (which I may increase to 37” in the future).
With the drive shaft complete, I am just about ready to get back on the trails. The last few upcoming projects include a winch makeover and electrical overhaul. Once these are complete I can take Project ’93 K1500 out and give you my thoughts on the recent installs.
SOURCES: Tom Wood's Custom Drive Shafts
|





 Your Privacy Choices