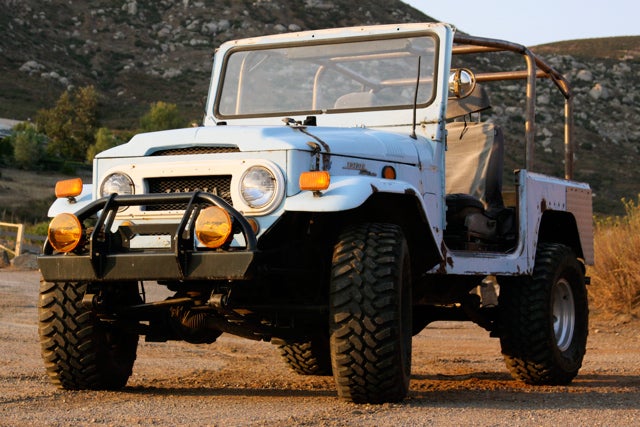
Toyota FJ40 Land Cruiser
There�s something about headlights and the grill that adds distinction to a Four Wheel Drive. The rugged lines of the front end and shape of the headlights really adds character to a rig. This was the case when we first set eyes on the Toyota FJ40 Land Cruiser.
Over the years, our Land Cruiser�s headlights seem to have dimmed and become dull. With so many new lighting options on the market, we decided it was time to give our Land Cruiser a facelift. Our hopes were that we would be able to increase the lighting power�making our rig much more safe and fun to drive.
BRIGHTER AND BETTER
 |
 |
|---|
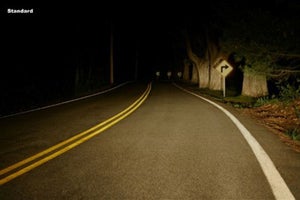
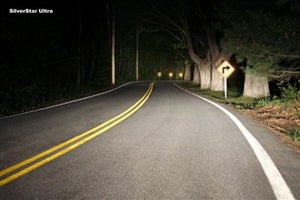
Lighting technology has really improved over the years. Back in the 60s when the Toyota Land Cruiser was in its infant stages, the lighting used was plain incandescent headlights. Later in late 1970s/early 80s the upgrade was made to Halogen headlights. They were brighter and lasted longer than conventional incandescent lighting. Today we see a variety of new lighting being used in the automotive industry�including LED and HID.
Our overall goal was to make our headlamps brighter. Although a full HID kit would have been nice for our project, the price tag was a little much. We had heard some good things about the SilverStar High Performance lighting by Sylvania, one of the leaders in automotive lighting. Their High Performance lighting is claimed to give you similar light to HID, but without the cost. We decided to give them a whirl, so we drove down and picked up a set of 7-inch round SilverStar sealed headlights at Kragen O�reilly from our buddy Spencer. 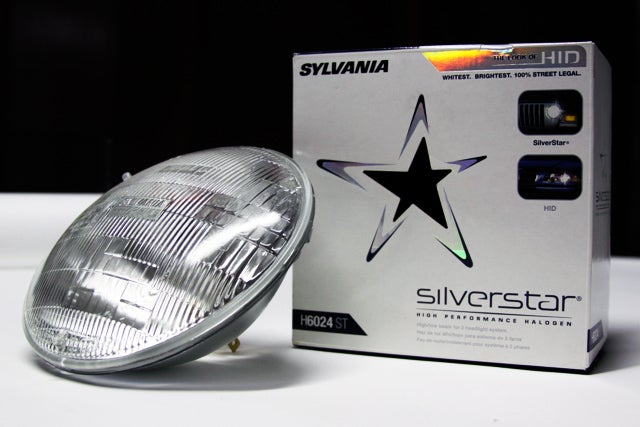
Sylvania SilverStar Performance Lights (12V, 65/55 Watts)
Back at the garage, we were really impressed with the packaging and quality of the sealed beams. Sylvania is based out of Hillsboro, NH and together with OSRAM GmbH is the leader in automotive lighting for original equipment manufacturers (OEMs) and the aftermarket. They make a nice product and it shows.
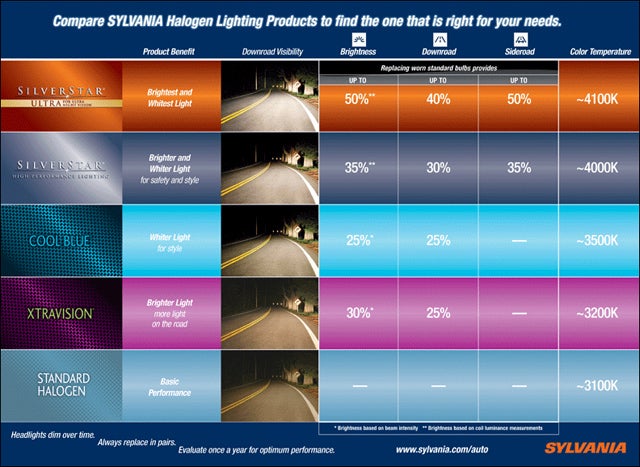
They claim to provide brighter and whiter light�up to 35% brighter and up to 30% more downroad visibility, and up to 35% more sideroad visibility than conventional halogen. They also have a color temperature of 4000K (Kelvin).
For those of you able to change out headlight capsules (most late model vehicles), you can get the SilverStar ULTRA--which claim to give up to 50% whiter, brighter light. They also give up to 40% more downroad visibility and up to 50% more sideroad visibility.
INSTALLATION
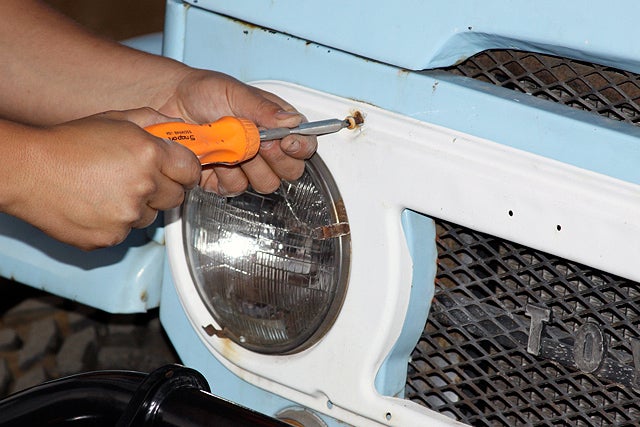
Using a Philips screwdriver, only four bolts need to be removed to take off grill. Three additional bolts need to be removed from each headlight in order to take off the metal retainer. Unplug the headlight and out comes the old H4 headlight.
Installation was easy: 1. Remove old headlights, 2. Install new headlights, 3. Check your aim.
The part number we used was Sylvania Performance H6024. These 7-inch round SilverStars are great replacements for any off-road vehicle running round lights (H4 sealed beams)--like Jeep Wrangler TJ, CJ5, CJ7, and early Ford Bronco or any other sealed beam off-road vehicles. Not only are they direct replacements, but also will increase the brightness of your headlights and are 100% street legal.
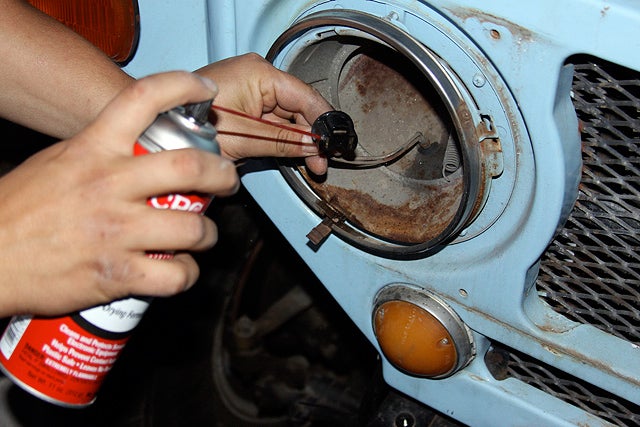
To make sure we had good contact with our new headlights, we took the extra step to clean out our plug with some CRC Electric Cleaner. Adding some di-electric grease after the plug dries is also recommended to ensure good conductivity and no corrosion, especially in these old rigs.
Installation took less than 15 minutes per light. What took a little more time was adjusting the headlight beam. Although it�s tempting to skip this step and just drive off, you should really spend the extra time adjusting your headlight to get the best lighting possible. You might as well become familiar with the idiosyncrasies of your rig--you will find that off-road vehicles need regular adjustment to lighting thanks to excessive vibration from rough roads.
Sylvania provides some easy tips on how to adjust your headlights:
 |
|---|
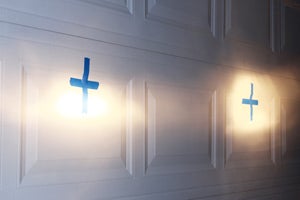
| It is evident in this photo that the left headlight needs additional alignment. |
1. Find a place that is at least 40-feet of flat ground from a garage door or wall.
2. Pull the vehicle straight up to within 6-inches from the wall.
3. Turn on Low-beams and mark the center of each light with masking tape, making a �+� target on the wall.
4. Back the vehicle straight back until you are about 25-feet from the wall.
5. The top of the beam pattern should be about 1-2 inches below the horizontal line created by the targets.
6. Horizontal adjustment is not usually required but the beam pattern created by each headlight should be down and to the right of each respective target.
*Consult your owner�s manual for specifics on your vehicle.
FINAL TOUGHTS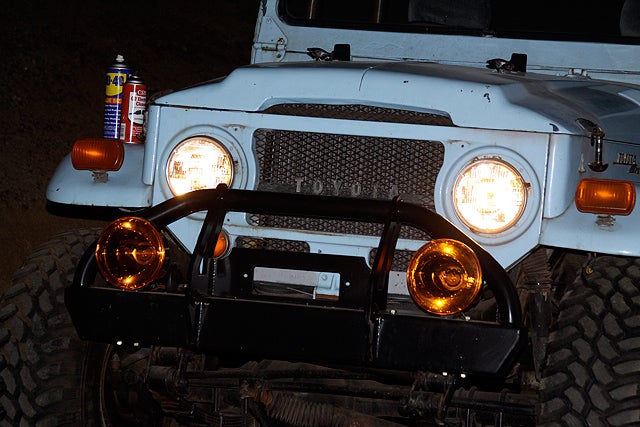
We are really impressed with our SilverStar Performance headlights from Sylvania. Although they aren�t HID�they come darn close for a halogen. They are really bright and white. The SilverStars have definitely added visibility on and off the road.
So far the Sylvania SilverStars have held up really well on our little iron pig. They have added to the overall look of the rig, even when the lights are off. The modern glass housing and light pattern looks really sharp.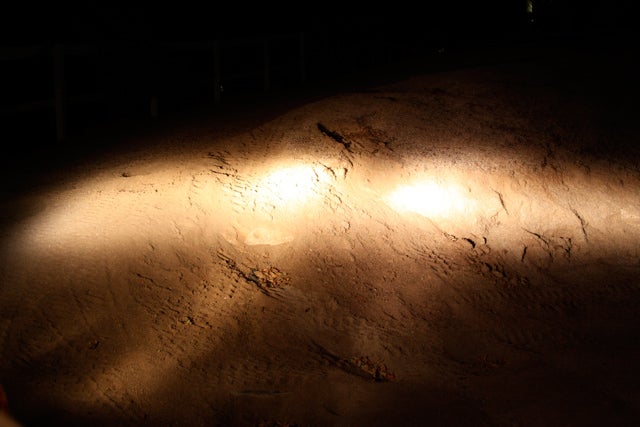
Overall, we are really pleased with the Sylvania SilverStar headlights and would highly recommend them to anyone looking to upgrade or replace their lights. Weather you run sealed beams or modern day housings with light capsules, at less than $60 for a pair, you can�t beat it. Not only will your headlights be brighter, but it will also add safety to your 4x4.
SOURCES:
Sylvania Automotive Lighting
http://www.sylvania.com/ConsumerProducts/AutomotiveLighting/
Kragen O�reilly Auto Parts
http://kragen.com/


 Your Privacy Choices