Tips & Tricks to Building a Fire
How to use your resources for a lasting campfire.
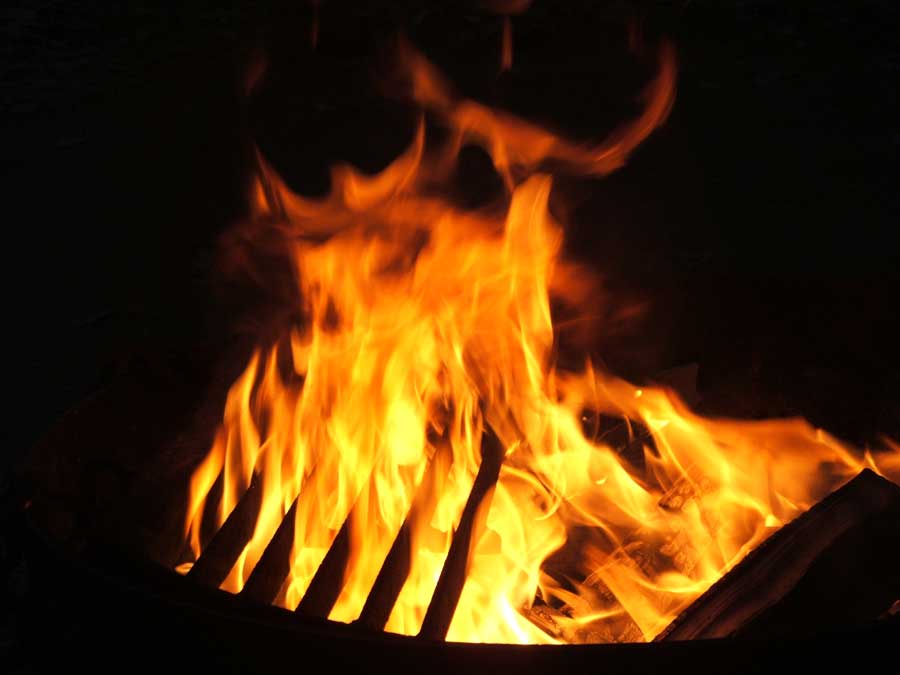 |
Creating a lasting campfire requires tinder, kindling and good wood. Photo ORC |
While there still might be areas in this country where it is possible to roam free on an ATV or snowmobile, creating open fires on the off-road takes a little more finesse – and permits or laws in your land’s favor. But the question is even if you are lucky enough to have a backcountry bonfire, are you smart enough to know how to create and manage one?
Take just a few minutes to review how to build a fire in an ideal situation or in one where you must resort to Survivor Man behavior. We’ve refined our fire-making suggestions from Bureau of Land Management policies to clever Colonial tricks. Hopefully, the only thing you’ll end up needing this article for is fire fuel!
TIP #1: Location, Location, Location
That wise old adage about finding the right place when starting a business holds truth to starting a fire. Finding the best place to build means taking into account the terrain and weather. Look high and low – for example, if it is springtime, will snowcapped mountains create a run-off leading right into your location?
Ideal Situation: A well-maintained State Park or National Park campground.
Survivor Style: Familiar with county fire laws and updated of any current fire regulations, which you can do by calling your local Fire Department or the U.S. Forest Service.
Fuel comes in many shapes and sizes, and we’re not talking about gas or kerosene cans. You’ll need tinder, kindling, and your main fuel of wood.
Ideal Situation: State or National Park provides dry wood or kindling for sale where the proceeds usually go to the park – gathering wood is often prohibited as it interferes with eco-life. Coghlan’s at www.coghlans.com is a popular outdoor company that provides many fire-starting products, including emergency timbers.
Survivor Style: For your tinder, gather fine wood shavings, straw, dead evergreen needles, or even lint from your pockets. For kindling, use twigs or small strips of wood. If you don’t have the best wood to choose from, remember you can use green wood if it is finely split and that dry wood can be found under the bottom of wet woodpiles – and you can shave off the bark.
Is your fire pit protected from wind? Will it give off heat in the direction you want? Is there a chance a spark could catch a nearby branch, grass patch, or woodpile and set it on fire? Smokey the Bear at www.smokeybear.com advises to clear a 5-foot area around the pit right down to the soil and circle it with rocks. This site is supported by the USDA Forest Service and is a great place to educate kids about outdoor fire safety.
Ideal Situation: Man-made pit on a State Park or National Park campground – make sure the smoke and fire is about six feet away from your tent!
Survivor Style: A pit that four inches deep, lined with stones, and six feet away from combustibles – underground tree roots included.
This is probably the most crucial step, even with the comforts of a campground pit. Tinder is piled loosely the center of your pit and your kindling is used to build a mini-teepee around it. Oxygen is needed for the fire to catch, so don’t build too tightly.
Ideal Situation: Pre-bought fire starter sticks placed in the center of your kindling construction.
Survivor Style: Natural tinder products piled into a softball shape and surrounded by kindling – and you’ve boxed the whole thing in by stacking your wood fuel around it, which helps with wind chill factor.
If you chose to go camping or get lost in the wilderness on a rainy weekend, never fear. There are more ways than one to create a much-needed spark. If you visit www.ehow.com, you can learn how to create fire by using a Bow-Drill, eyeglasses as a magnifying glass, and a 6-volt battery and steel wool.
Ideal Situation: Matches are waterproof because you dipped the heads in paraffin – Plan B is the magnesium and flint block you purchased last minute at REI.
Survivor Style: You generate heat through friction with a four-piece homemade Bow Drill, and remember to use one shoelace for the bow part – the other to tie loose hair back.
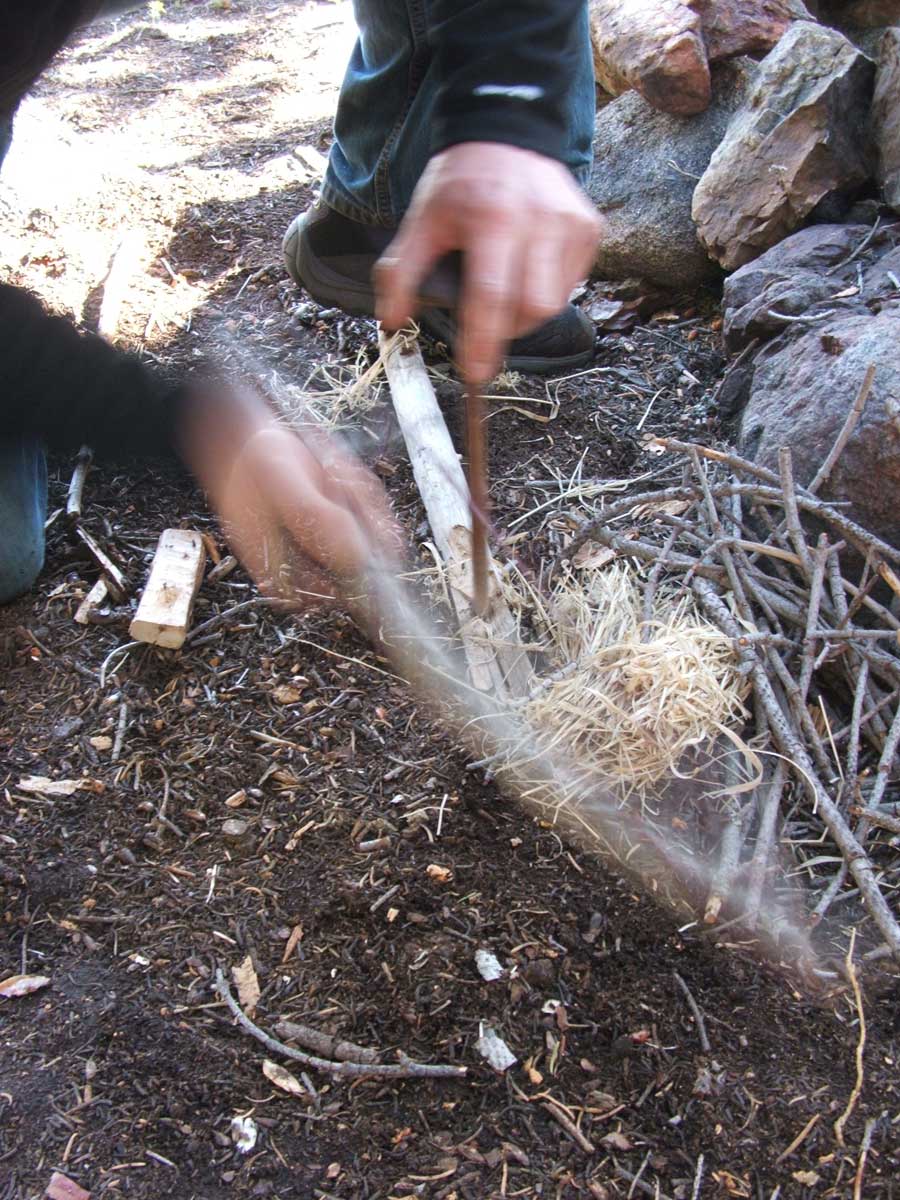 |
True outdoor survivors can generate heat through friction. Photot ORC |
IP #6: Burn, Baby Burn
Oxygen is key, so be careful in your excitement to not smother the catching spark with too much fuel. You’ll want to nurture your campfire to life with larger kindling and a few blows before laying the main fuel parallel to the ground and on top of your burning kindling.
Ideal Situation: You decided to buy more than one box of wood from the State Park or National Park Camp Host because they go to bed so darn early.
Survivor Style: That little log cabin you created in Tip #4 is about to pay off.
TIP #7: Putting the Fire Out (For Good)
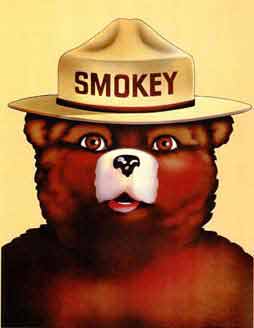 |
Smokey the Bear is a fun way for your kids to learn about fire safetly. |
Do we need to add you should never leave a campfire unattended?
Ideal Situation: Drown the fire with water. Embers can hide under rocks. Stir the remains and keep adding water until completely cooled.
Survivor Style: Depending upon your terrain, use sand, dirt or mud in place of water. Continue steps above. The final test is feeling all fire materials with your bare hands.
|
Off-Road.com Newsletter Join our Weekly Newsletter to get the latest off-road news, reviews, events, and alerts! |
Follow @Off-Road
 Your Privacy Choices