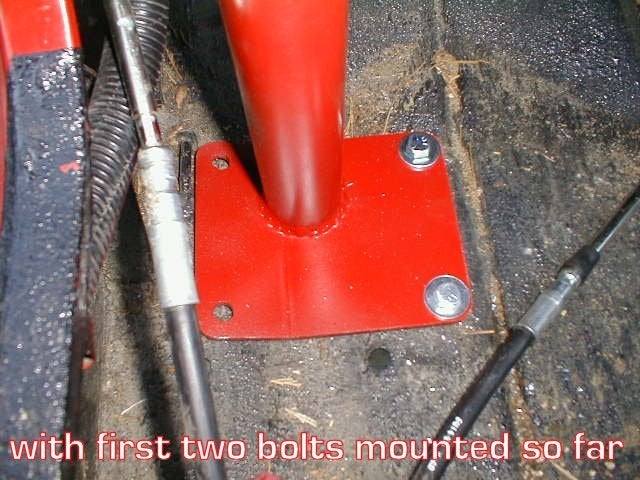
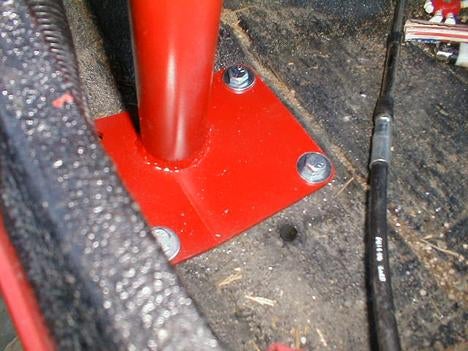
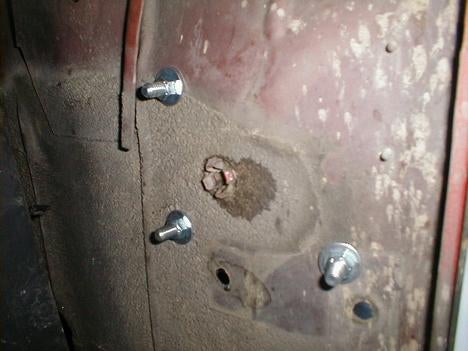
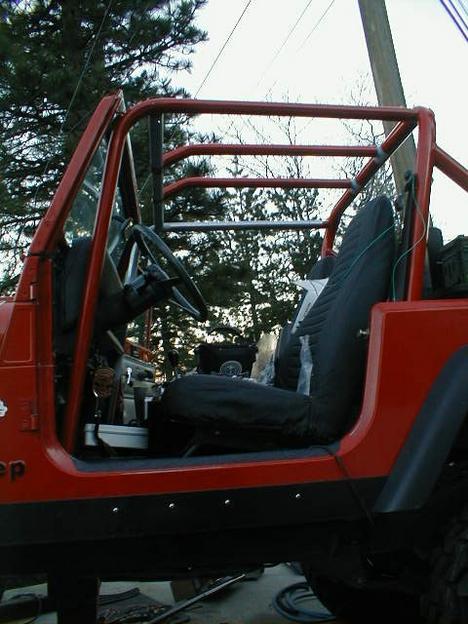
After installing the cross bar and setting the two optional spreader bars into position it was time to start bolting some of these bars down. Since I had already drilled and bolted the cross bar down to the side bars its was time to drill and bolt the side bar floor board mounts and bolt them into position. I went ahead and began drilling and bolting down the floor-board side bar plates. Before drilling these holes I had a friend pull on the side bar bringing the side bar as close as they could away from the dash and towards the inner rock panel. This step isn't required but I wanted the cage to be further away from the dash than the bar was setting at rest. this would avoid rattling or rubbing on the dash, plus this would give me a touch more leg and foot room in the floor-board area. After securing the driver-side floor board mount I followed the same steps on the passenger-side with the exact same results. See pictures below for details.
(Click on images for large view)
INSTALL PART 5:
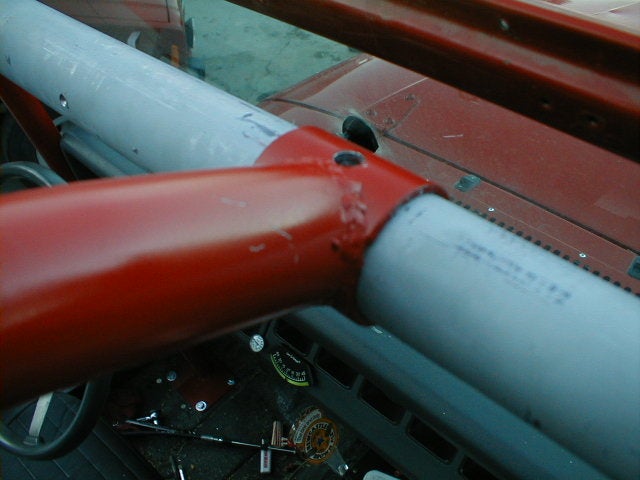
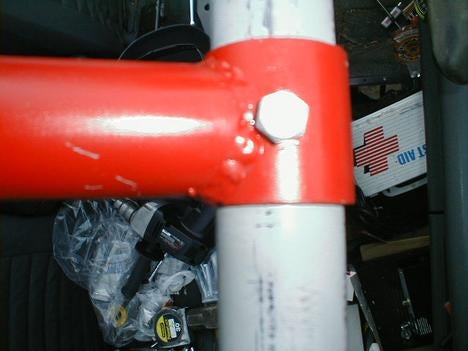
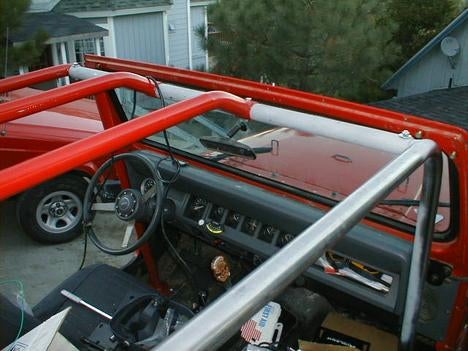
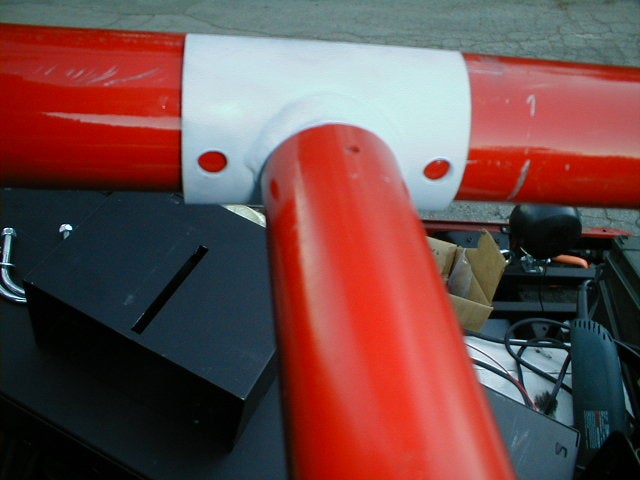
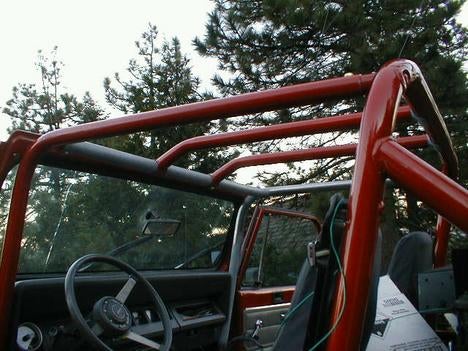
Now my M.O.R.E. roll-cage is starting to look like a full-cage and actually as is its provided a lot of strength with just these steps installed. This would be known as the standard kit with no options. I went with both options available, both frame tie-in and two center spreader bars. My next step was to mount these spreader bars, but first I had to measure, then re-measure the location of these spreader bars in order for the two bars to sit in the same distance from each other (centered). I then went ahead and drilled the holes threw the cross bar and using the supplied bolts I secured each spreader bar into position. This was a straight forward and easy step, it just required a lot of drilling (6 holes total). See pictures below for more details of the spreader bars during there mounting steps.
(Click on images for large view)


 Your Privacy Choices