|
When it comes to the subject of jetting, the average rider doesn't have a clue. This is a sad fact when you consider that relatively simple carburetor adjustments can often provide greater benefits than adding aftermarket high-performance parts. While this may be hard to believe the first thing to understand is that manufacturer's factory-jetting specifications are only ideal at certain altitudes and temperatures. A manufacturer must decide on factory jetting that will work for the vast majority of areas without causing damage to the motorcycle. So how do you know how to jet a bike to reach the optimum performance for your riding location and your riding style? Read on!
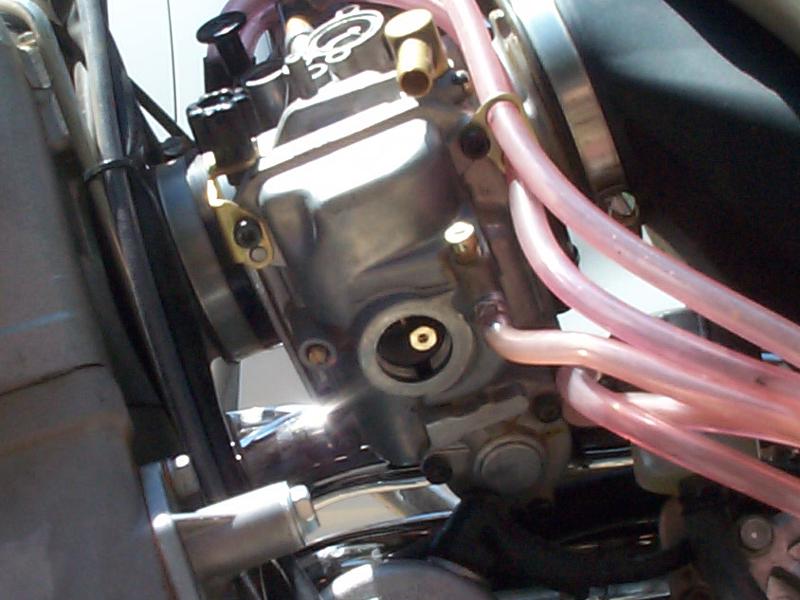
The carburetor provides
the proper air and fuel mixture to the engine at various throttle settings.
A vacuum created by the engine first draws air through the air filter into the
carburetor. As the air flows through the carburetor it creates a suction that
draws fuel from the float bowl where it mixes into the air stream and enters the
engine. To accomplish this the carburetor uses a few different circuits composed
of the pilot jet, air or fuel screw, needle and main jet. Unfortunately, jetting
isn't always as cut and dry as just changing a jet because each of these
different circuits have some over
The idle circuit contains the pilot jet and either an air or fuel screw, depending on the model of the bike. The pilot jet controls the first ? of throttle position and the air/fuel screw approximately the first 1/8th throttle. An air screw will let more air in the farther out you turn it where as a fuel screw will let in more fuel the further out you turn it. An airscrew is generally located on the airbox side of the carburetor while a fuel screw is usually found on the intake side. Most two-strokes have air screws while many of today's four strokes use fuel screws.
As you move into and past a ? throttle the needle circuit has a dramatic effect on the air fuel mixture being delivered to the carburetor. The needle impacts jetting from about ? throttle right past the ? mark. It is made up of a straight section at the top with cutouts for the different clip positions. A tapered section follows the straight area and ends with a sharp tip that rests in the main jet. The higher the clip position, the lower the needle sits in the main jet and the less fuel that makes it past the needle into the engine. The lower the clip position, the higher the needle sits in the main jet and the more fuel that makes it past the needle and into the engine.
The main jet circuit controls the final ? to full throttle. This jet is especially critical when riding at near open throttle settings for extended periods of time, or under high load conditions such as sand. During these types of conditions the engine needs the proper amount fuel to keep cool. A rider that is riding tight technical woods and only using 0-3/4 throttle range most of the time can get away with a leaner (smaller) main jet than a desert racer running wide open in a sand wash. By running a smaller main jet, the woods rider will get a little crisper throttle response but the motor won't run long enough in this range to generate enough heat to damage the engine. The desert racer is more concerned with keeping the motor cool and finishing the race than a little crisper throttle response.
With this basic knowledge
of jetting it still doesn't hurt to have access to an expert on the subject
that not only knows your bike but also understands how different riding styles
affect jetting. In the case of jetting our 525 I stumbled upon such an expert
named James Dean while browsing a website called KTMTalk.com.
James had made a post offering a jetting kit with custom made needles just for
the KTM 450/525. James had helped me smooth out the power on my 98 KTM 300EXC by
suggesting I use a single taper needle so I knew he wa After contacting James and
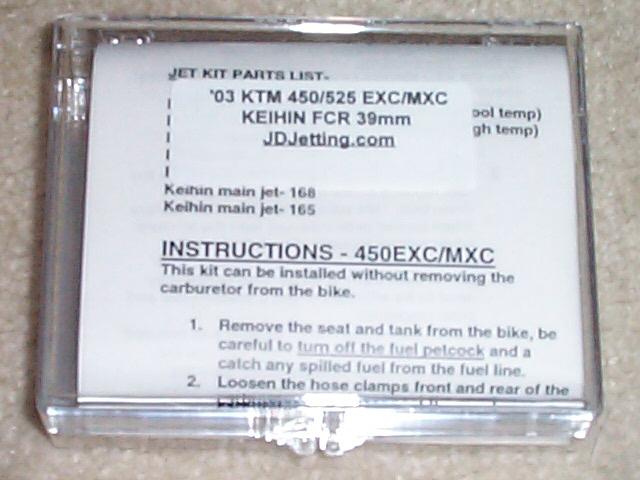
ordering the kit I received everything within a week. The kit comes nicely
packaged with two custom needles, four main jets and detailed instructions for
jetting at different altitudes and temperatures. The needles are termed the
"Blue Needle" and the "Red Needle" for ease of identification and
contain a blue or red paint dot at the top of the needles. The "Blue Needle"
is designed for us Eager to test out the jetting we headed out to the Hungry Valley State OHV area in So Cal on a slow Friday afternoon. This area ranges between about 3500-5000 feet in the valley area trails with a temperature of about 70-75 degrees. It offers a wide variety of conditions to test jetting including tight single-track trails, open fire roads and long deep sand-washes. First we left the stock needle in place on the 3rd clip position, a 48 pilot jet and the stock 178 main jet. With this jetting the bike ran fine with no apparent bogs or hiccups in the powerband. Although I didn't have anything to compare this jetting to - I didn't have any real complaints with it.
With the recommended jetting in place I took off for another loop. The difference was immediately noticeable. Power off the bottom went from being lazy smooth to very snappy, much more two-stroke like. With this jetting the big midrange power of the "stock" jetting felt like it moved down a bit. The bike was much more responsive coming out of corners and suited my riding style better. In the deep sand, I was able to get the bike going into the midrange and wind it out a bit. While the midrange pulled fine it felt like I should be getting a little more arm pulling power. I also noticed a little bog when charging through deep whoops. Back at camp I decided to move the clip to the 3rd position on the blue needle. This means I actually raised the needle so it doesn't sit in the carb quite as deep. Because of the taper of the needle this results in more fuel getting by the needle when it is still inside the main jet. In addition to the needle adjustment I also raised the main jet from the 170 to a 172. With these changes, the bike became an arm-pulling machine! That low-end snap was still there but the midrange was much more pronounced. The best way to describe the increase in power was it felt much thicker and pulled like crazy from midrange up even in the sand washes. The bog on the low end through the whoops disappeared and it was easy to keep the front end light over a series of whoops. In fact it was easy to loft the front end almost anytime you wanted too because the response is so crisp. For my riding style this jetting was my choice by far. It let me snap out of corners similar to on my old 300 but with much more traction. I could also just roll out the corner and the motor would pull from off idle into midrange without hesitation. When the midrange starts kicking in - you better be hanging on because this thing pulls way harder than with the "stock" jetting. In the last article I praised the mellow low in the rocky technical sections. With this jetting I can say I will have to be more careful with the throttle in the tight stuff but for me it is worth the additional throttle response and increased midrange power. For a novice rider, or someone who rides a lot of technical sections a different jetting combination that smoothes out the power may be more desired.
Do I think the jetting kit was worth the investment? I can answer a definite yes to that question. For my riding style it made the 525 come alive much more than I had hoped for. I now have a much more responsive bike with incredible power that still maintains good fuel economy. Being able to snap out of corners and accelerate much quicker were the main benefits I felt from this kit over the "stock" jetting. All this improved performance comes from jetting changes only, no changing a pipe or adding any other aftermarket parts to the bike. With the needles, jets and easy to follow detailed instructions for altitude and temperature adjustments this kit gets my thumbs up. In fact, one of James's main intentions for the kit was to allow riders with no knowledge of jetting to just put in his needle and a jet and get to riding.
|

|
Off-Road.com Newsletter Join our Weekly Newsletter to get the latest off-road news, reviews, events, and alerts! |
Follow @Off-Road
 Your Privacy Choices