With our cylinder installed and all the fasteners properly torqued to spec, we are now ready for the most important, and often overlooked part of the rebuild! The leakdown test...
The only way to determine a two- stroke engines' overall health and well being is by performing a leakdown test!
Leakdown Test Procedure:
 |
|
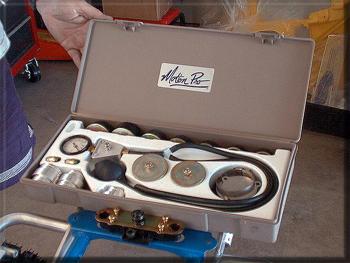
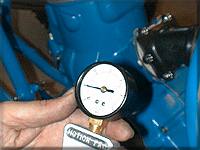
Motion Pro's Leakdown Test Kit It is also a MUST HAVE tool for anyone that want's to rebuild a two-stroke motor. The only way you can be sure your motor is healthy before you start a jetting procedure is to pressure test it. If you haven't, you are simply wasting your time, and quite possibly, huge sums of money. A leaking engine will almost certainly fail prematurely, if not instantly - and be IMPOSSIBLE to jet correctly... Dune |
It's so easy to use. Even a Glamis squid with a brain that's been damaged from years of race gas sniffing and sand eating can quickly perform... Just 1-2-3 simple steps. If you have the skill to do the top end, the leakdown test is a breeze... Or let's hope a lack of breeze coming out of your 300 buck overhaul!
The cost of Motion Pro's test kit is less than an average top end job - and a more than wise investment. With the cost of a big bore piston and rings hitting a 100 bucks or more, plus gaskets, bearings, bore-job, etc, the cost of this kit is more than offset by a failed top end due to an engine leak and resulting seizure!
What are the results of the test? FAILURE! What you say? It failed? Well gang, that's why you perform this VERY IMPORTANT test!
 |
|
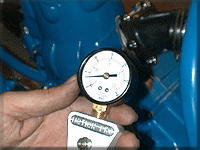
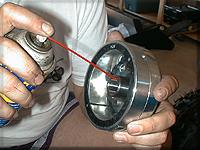
At 2-3 psi, air started gushing out of the right side crank seal! The engine would not hold pressure for more than one or two seconds and the gauge would start to quickly drop... |
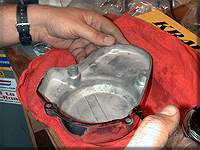
What now? Well... we pull the primary drive and replace the seal, of course. No problem, done and retested in 20 minutes. The big thing is that had we not done the test, our engine would have sucked air and transmission oil in through the crank seal, leaned out and burned up, provided we were able to even get it jetted well enough to run... Some tips for testing your engine with the Motion Pro Leakdown Test kit:
- This is a precision instrument. Keep it clean, and handle it carefully
- When performing the test, it's a good idea to have a mechanics stethoscope and a spray bottle of WD-40 (water works ok, but tends to run off too fast) to look for leaks if indicated.
- A motor in good condition should hold pressure for several minutes.
- NOTE: They WILL not hold pressure indefinitely. Most crank seals will allow some bleeding, and on an engine like the LT500, which is equipped with a complex power valve, frequently they will leak through them, particularly if the O-rings are old or worn. This is not terribly serious but an indicator you should service/overhaul the valve.
- Always perform a leakdown test when doing a top end. The cost of Motion Pro's kit is far less than a spoiled weekend trip due to a blown motor - not to mention jetting/tuning and performance nightmares!
Your local dealer can help you get any of the Motion Pro products you need!
Or...



 Your Privacy Choices